1. Materials and tools to prepare
JoyBeans Craft supplies beads, boards, storage and selected hand tools. Heating equipment is not supplied.
2. Common 2D fuse bead project types
Flat fuse bead designs can be developed into practical accessories, decorative products and framed artwork. The basic bead placement and heating process remains similar, but the finishing method changes according to the final use.
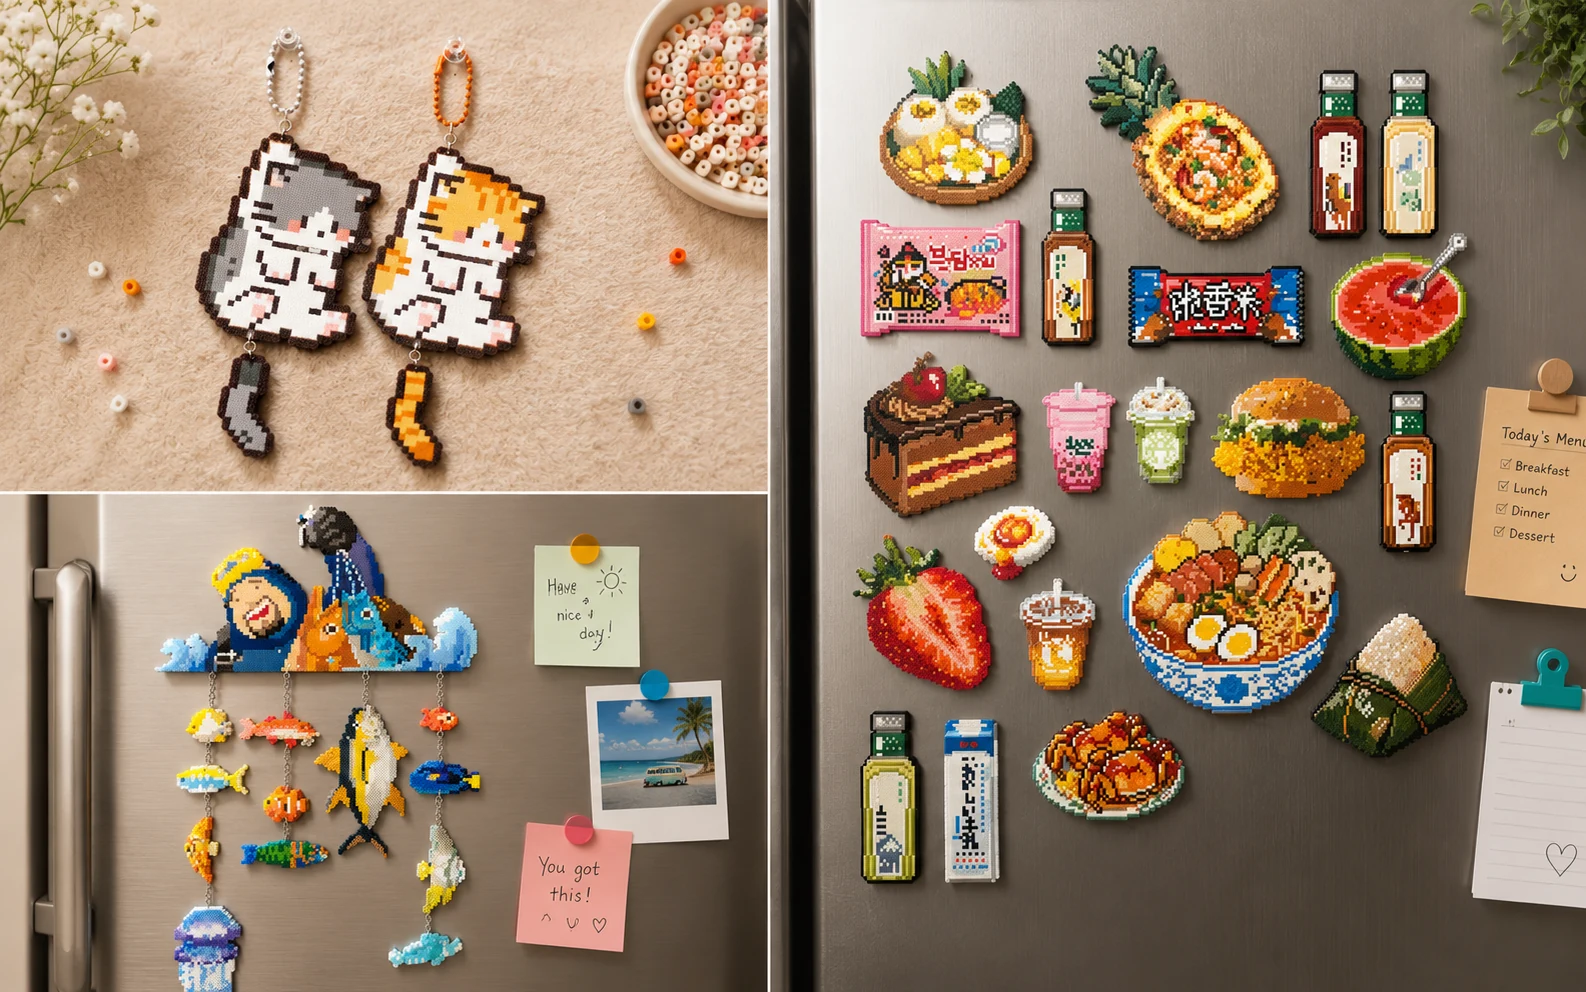
Keychains, hanging ornaments and refrigerator magnets use a flat fused design as the main visual element. The finished piece may require additional components such as chains, hooks, magnets or connectors.
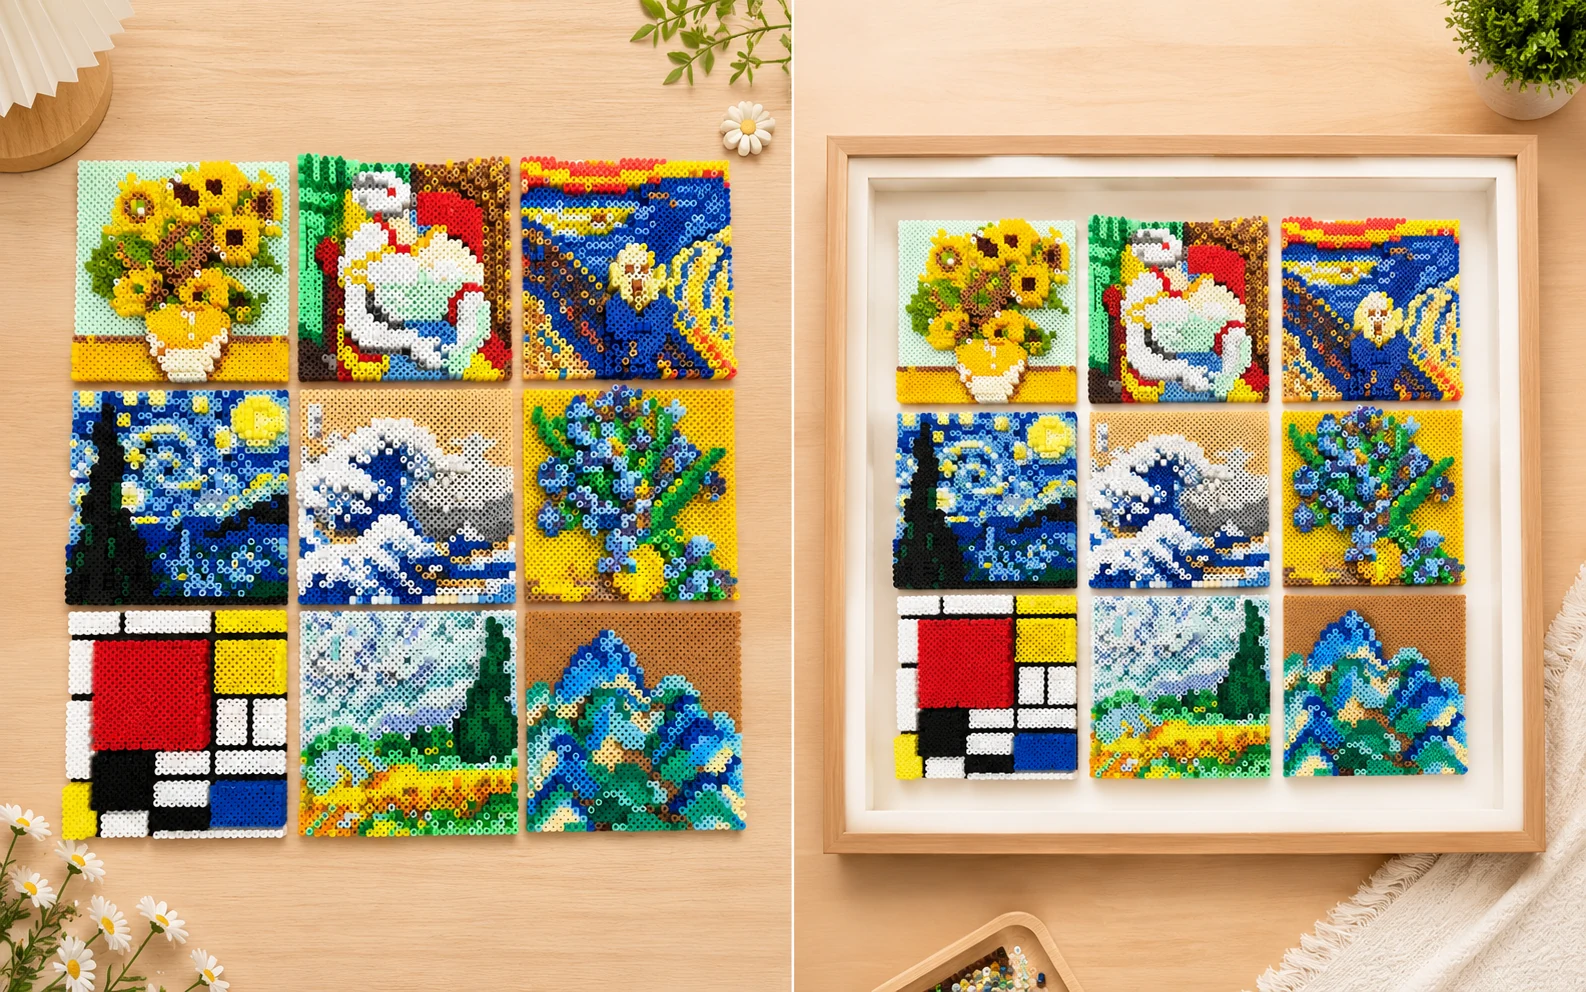
Multiple flat panels can also be combined into larger decorative artwork. Individual panels may be displayed separately or arranged together inside a frame to create a complete collection.
Select either image to view the original large version.
3. How to make a 2D project
- Choose the pattern.
Confirm that the design fits the available pegboard and color range.
- Sort the colors.
Prepare the required shades in separate containers to reduce placement errors.
- Place the beads.
Follow the pattern row by row and inspect outlines, color transitions and missing beads.
- Cover and heat.
Use ironing paper and follow the instructions supplied with the selected heating equipment.
- Cool the piece flat.
Allow the project to cool before removing it from the board or attaching any finishing components.
- Add the final fitting.
Attach the chain, hook, magnet backing or display frame required for the final product.
4. From a flat pattern to a 3D model
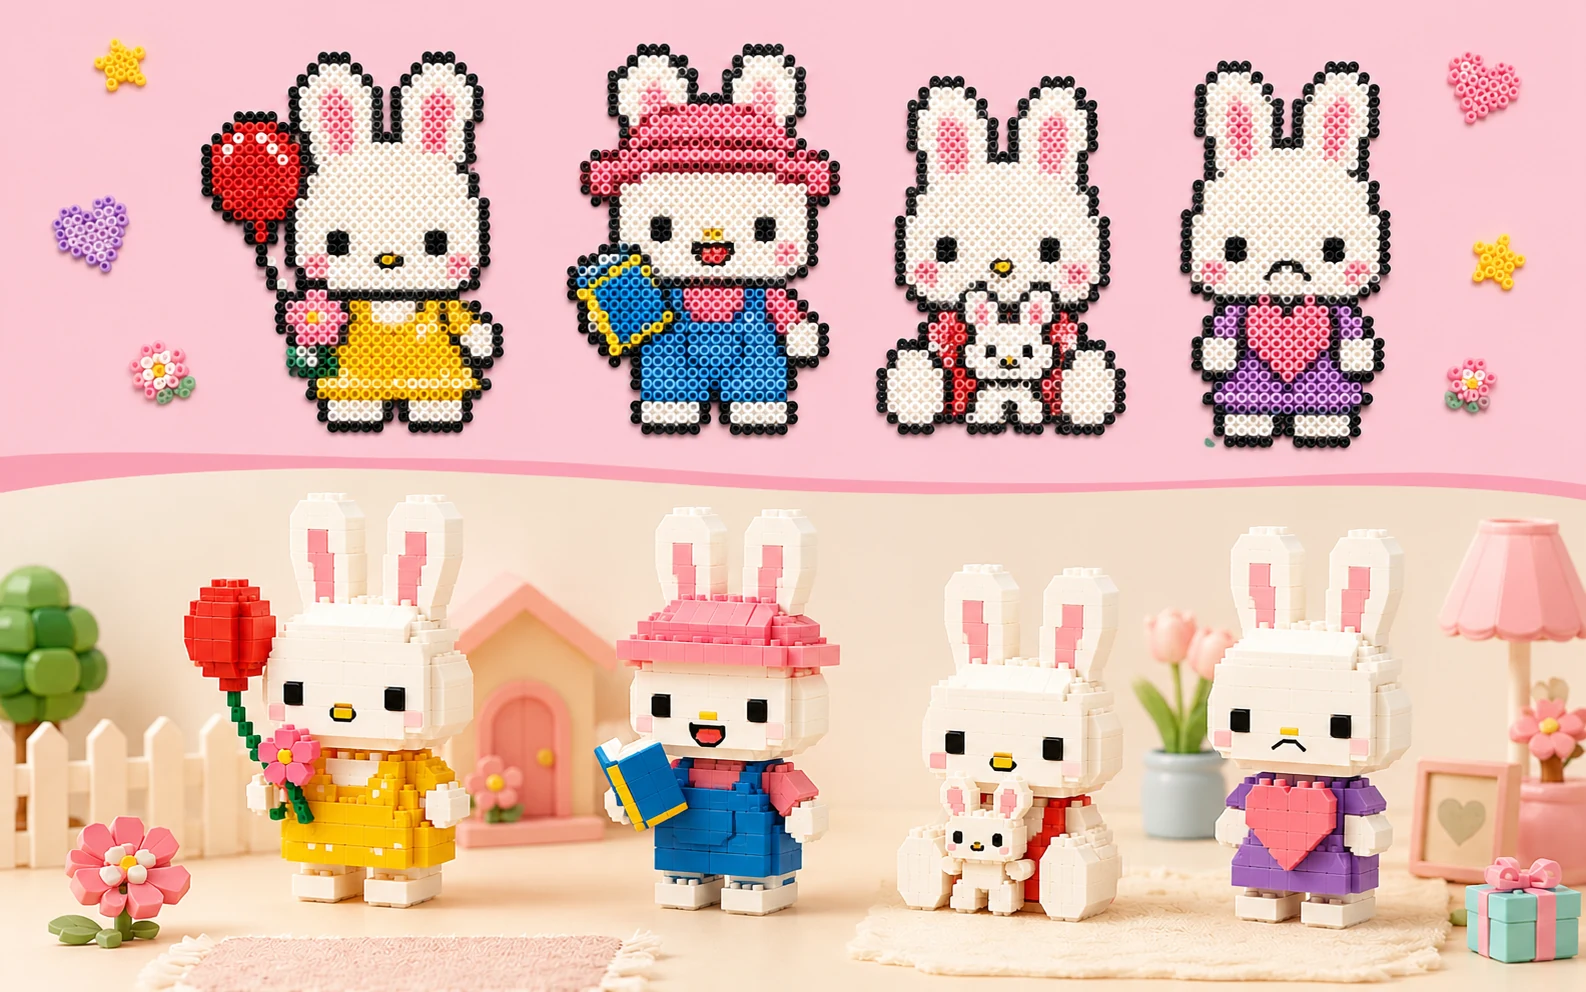
The same creative theme can be developed in two different ways. A 2D version is arranged and fused as a flat pattern, while a 3D version is divided into multiple components that are assembled into a freestanding model.
Most 3D fuse bead projects do not begin as one complete three-dimensional object. Each section is designed as a flat component, fused separately and connected during assembly.
5. How to make a 3D project
- Break the model into flat parts.
Plan the front, back, sides, base and any connecting or decorative sections.
- Build and label each component.
Keep the patterns and finished parts organized so the assembly order remains clear.
- Fuse and cool the parts consistently.
Use the same finishing method for matching pieces and cool every component on a flat surface.
- Test-fit tabs and slots.
Check the connection points before applying pressure or completing the structure.
- Assemble the structure.
Join the components according to the planned slot, tab or interlocking method.
- Prepare replacement parts when needed.
Remake any component that is too warped, loose or incorrectly sized.
6. Decorative 3D fuse bead projects
Three-dimensional techniques can be used for more than character models. By combining shaped leaves, stems, containers and supporting structures, creators can produce decorative plants, flower arrangements and freestanding display pieces.
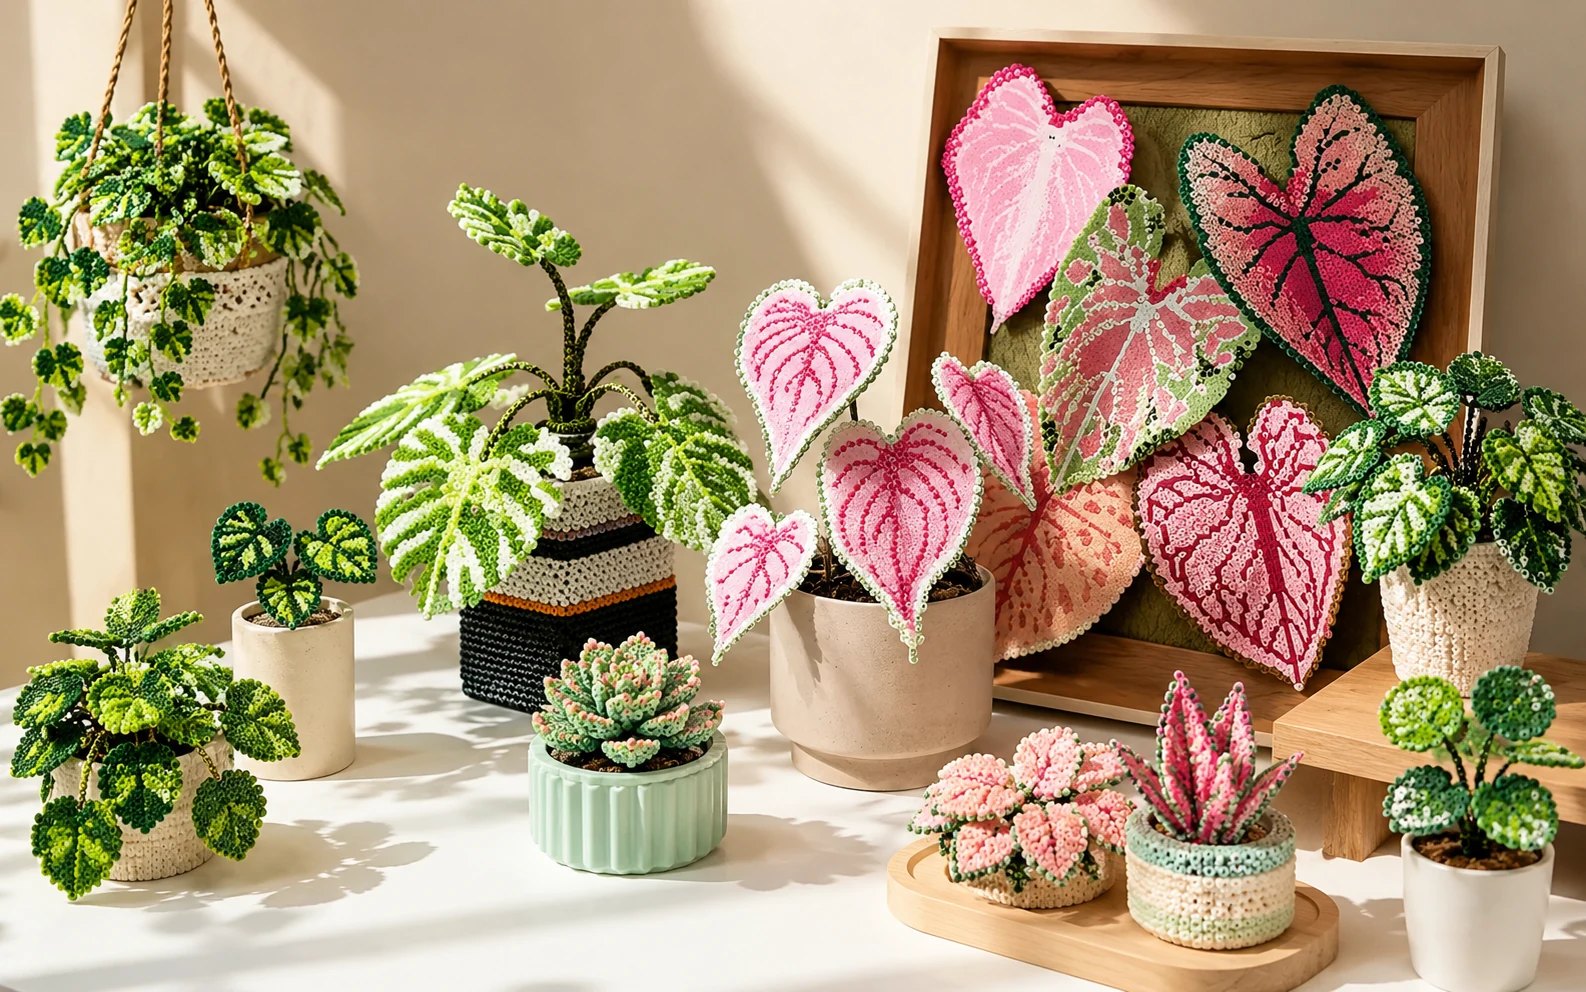
These projects usually require a wider color range, repeated structural colors and careful planning of connection points. Additional beads should be prepared in case individual parts need to be replaced or adjusted during assembly.
7. Using an iron or fuse bead press
Follow the equipment manufacturer instructions and test the process on a small sample first. Use a stable heat-resistant surface, keep the ironing paper flat and apply heat evenly.
- Avoid concentrating heat on one area for too long.
- Allow each component to cool before moving or assembling it.
- Use a consistent heating method for matching 3D parts.
- Check that the finished piece remains flat and correctly sized.
8. How Project Type Changes DIY Kit Planning
Project type affects the bead quantity, board size, component count and finishing materials that should be included in a DIY kit.
| Project type | Typical kit components | Planning priority |
|---|---|---|
| 2D keychain or ornament | Selected beads, small board, pattern file and optional connector | Confirm finished dimensions and attachment parts |
| 2D coaster or panel | Repeated colors, larger board area and suitable ironing paper | Allow enough beads for solid areas and corrections |
| 3D character or model | Multiple component palettes, adequate boards and organized pattern sections | Label parts, plan repeated structural colors and include spare beads |
| 3D decorative object | Theme colors, structural shades and component-specific pattern files | Confirm assembly method, stability and replacement parts |
For image-based custom kits, JoyBeans Craft can match the project colors and sort them into the confirmed DIY kit box. Review the project-specific DIY kit delivery scope.
9. What to purchase for each project type
| Requirement | 2D projects | 3D projects |
|---|---|---|
| Color planning | Main design, outline and background shades | Main design plus repeated structural colors |
| Pegboards | One or more boards sized to the finished design | Enough board space for several separate components |
| Finishing parts | Chains, hooks, magnets or frames where required | Tabs, slots or other planned connection structures |
| Tools | Tweezers, scoop, storage and ironing paper | The same tools plus organized part labeling |
| Extra material | Spare beads for corrections | Additional beads for replacement parts and assembly testing |
10. Common issues to avoid
- Starting without confirming that the pattern fits the available board.
- Mixing similar shades without labeling containers.
- Heating one part of the design more than another.
- Removing a piece before it has cooled.
- Attaching chains, magnets or frames before the 2D piece is stable.
- Using inconsistent dimensions for matching 3D components.
- Ordering no spare beads for corrections or replacement parts.